When we last checked in, we had left Chris to rack over our beer to the glass carboy for ageing. If we assume a 4 day fermentation cycle, the beer would have been racked over on March 26th. We returned to bottle the beer on April 13th, after approximately 18 days of maturation. Let’s pick up where we left off!
Step 4: Prepare for bottling and bottle conditioning
Most home-brewers don’t have the technology or equipment to force carbonate their beer. We had the option to do so here, but opted for the more authentic bottle conditioning. Bottle conditioning involves adding priming sugar to the matured beer, which will be fermented to create carbon dioxide gas in situ. Additional yeast can be added, although the remaining yeast in suspension should be sufficient to carbonate the beer. I am not clear on which method was used in our case.
Chris added the priming sugar about a half hour before we arrived and prepared the rest of the equipment for bottling. He removed the beer from the carboy and transferred it to a gas pressurized keg to make the bottling process easier. At home, you can simply siphon from the carboy to the bottle after the sugar has been added. This is one of the benefits of using professional equipment!
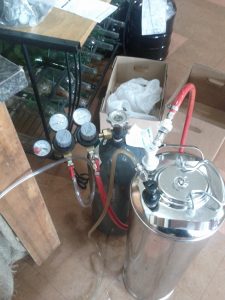
Pressure keg and gas tank
Step 5: Wash your bottles
My brother and I had bottles left over from our last attempt of the green plastic variety. We decided to make a concerted effort to save larger craft bottles to give our beer that added sense of legitimacy! That, and the sediment from the bottle conditioning is easier to remove from a larger bottle. It’s important to ensure the bottles are clean before you begin the bottling process. Our bottles were cleaned in a weak bleach solution, rinsed and dried.
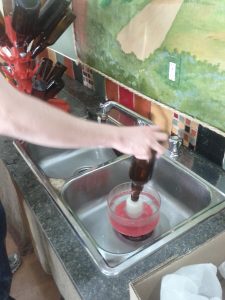
Washing with bleach solution
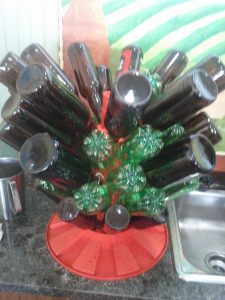
Drying the bottles
Step 6: Fill the bottles!
With the pressurized keg, the bottling process was a little easier than it might be at home. However, the principle remains the same. Fill up the bottle until to 2 inches below the top of the bottle. This will allow the carbon dioxide to build up in the bottle, and not just the neck!
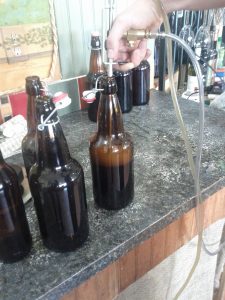
Filling the bottle. The cushy u-brew way.
Step 7: Cap the bottle
Another luxury of the professional u-brew circuit – capping apparatus! You’ll notice in the picture above, many of our bottles have swing top enclosures. This allows us to re-seal the bottle without using a cap, which will be valuable when bottling at home. We also re-used many standard 650 mL and 330 mL beer bottles, with a pop off cap. Chris has a capping press which allows us to put fresh caps on these bottles. Our green bottles are simple white top screw on caps.
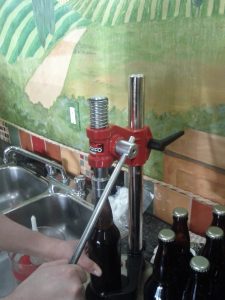
A professional touch
***
Bottle conditioning requires that we wait two weeks until the carbonation process is complete. Stay tuned for part three: Tasting and Next Steps!