If you are strictly being economical when eating chicken, it is usually cheapest to stick with drumsticks or thighs, which can almost always be bought on sale at $1.50/lb or less. Usually, I get chicken drumsticks at $0.49-$0.79/lb. But it’s easy to get “bored” of eating drumsticks and understandable to want a variety of white and dark meat. Buying whole chickens can be an economical way to get a variety of cuts of chicken. Knowing how to butcher a whole chicken lets you use the bird economically and efficiently, without feeling like you have to roast or bake the entire chicken at once.
I bought this bird for $7, which is pricier than I normally would buy it, though anything between $5 and $7 for a whole chicken is a decent price.
Step 1: Preparing the workspace
Prepare ziploc bags, plastic wrap, containers, spare veggie bags or whatever you want to use to hold the chicken pieces. Make sure you have a sharp chef’s knife and a good sized cutting board available. Have a small “garbage” bag ready for tossing in bits of fat and trim.
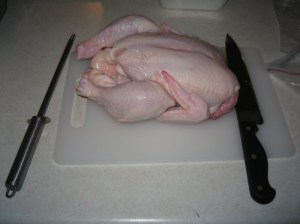
Step 2: Preparing the chicken
Wash the chicken and pat dry. Lay the bird breast-side up on a cutting board.
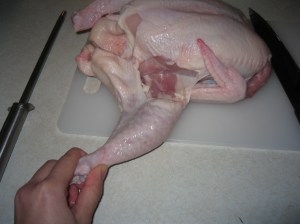
Step 3: Removing drums and thighs
Using your non-cutting hand, extend the leg. With your other hand, cut through the skin between the thigh and the body. This will allow you to fully extend the leg from the body. Then, with the leg fully extended, cut through the joint between the drumstick and the thigh. If you find the cartilage between these two parts, the knife should slide through easily.
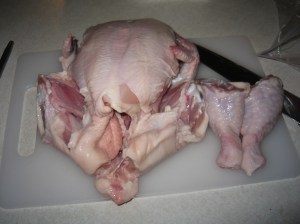
To remove the thighs, you have two options depending on what hardware you have available.
With only a chef’s knife: Pull the thigh away from the body and turn the bird so that the back is facing upwards. Bend the thigh towards the back until you hear the joint pop out. At this point, you can cut around the joint with the blade flush to the ribs to remove the thigh.
With a butcher knife: Pull the thigh away from the body but do not separate the joint. Instead, with the breast side still facing upwards, cut through the back of the bird using the butcher knife to remove the thigh.
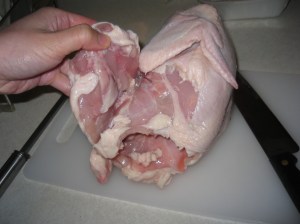
Step 3: Removing the wings
Pull on the on the wing to extend it away from the body. The “shoulder” joint of the wing is actually withing the breast muscle. To cut through it, you will also need to cut through some of the breast. This is normal. Simply make an incision through the breast close to the joint and cut straight through. Then, the drummette and the wing can be detached from each other by cutting through the joining cartilage.
Step 4: Removing the breasts
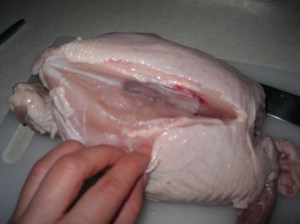
Turn the chicken back around such that the breast side is facing up. Find the midline of the bird and place the knife flush against it. Using the sternum and ribcage as a guide, make shallow “slicing” motions to separate the breast from the bone.
Step 5: Packing up
Almost finished… But don’t throw away the carcass! Trim off the excess skin and fat, pop it into a plastic bag – the ones from the market for fruits and veggies works well – and stuff it in the freezer. It can be used for making chicken stock. I like to package the rest of the meat as drums and thighs, wings, and breasts, separately.
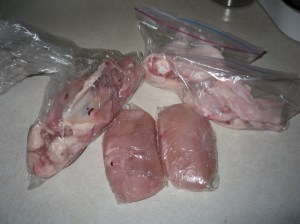
Everything goes into the freezer, and you’re done!